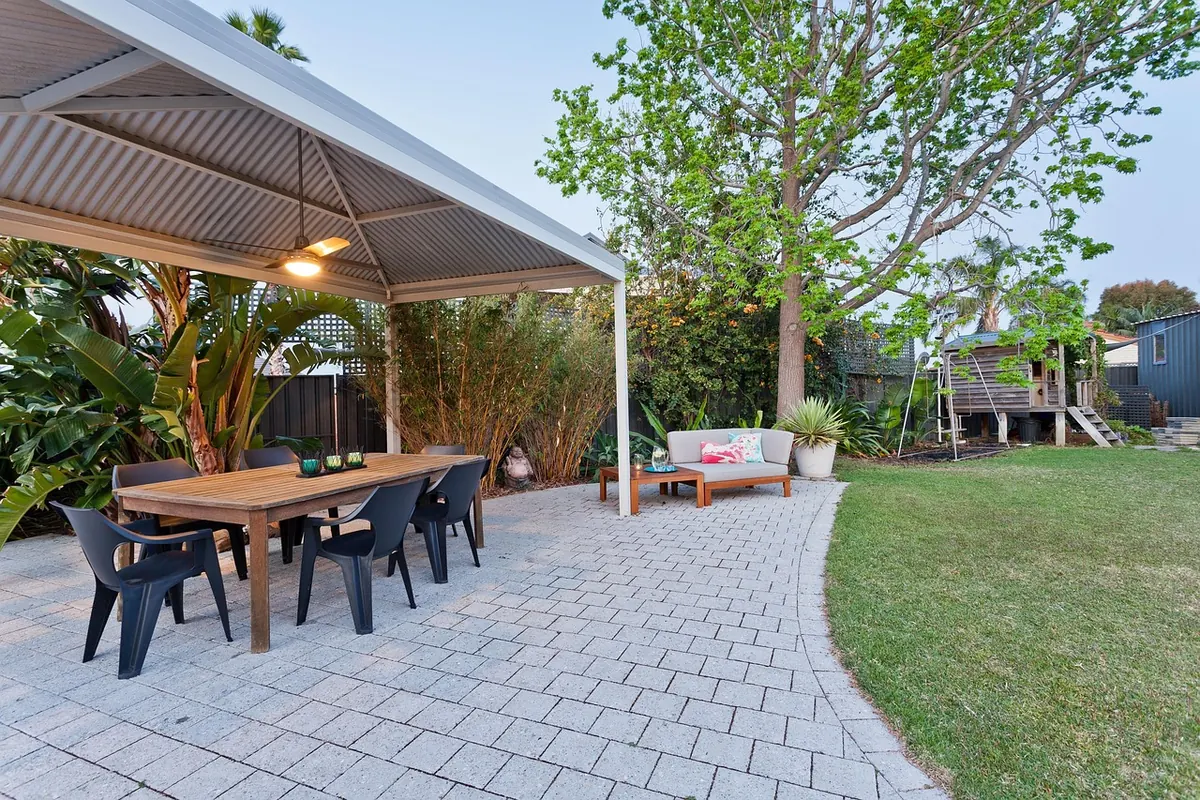
A patio in March rarely looks like the one you left in October. Grit has settled into the joints, the north-facing stones wear a green film, and one deck board has begun to cup. Spring prep is not a single Saturday of scrubbing; it is a sequence. Seal damp wood or plant into cold soil and you waste both money and a perfectly good weekend. What follows is a month-by-month plan that suits most temperate climates. Slide it a week or two in either direction for your region, and let the weather have the final say.
March: Clear, Clean, and Take Stock
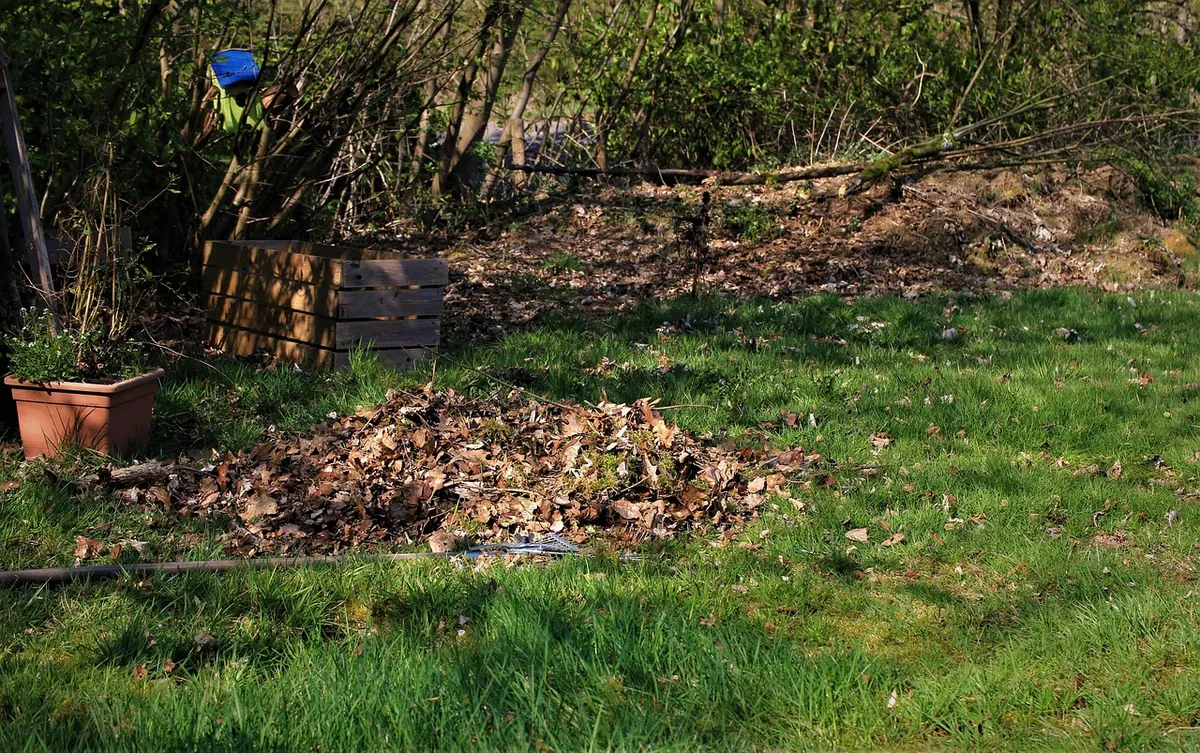
Start with removal before washing. Rake out the leaves and twigs that wintered under the furniture, then work a putty knife or a narrow weeding tool along the joints of pavers and flagstone. That trapped debris is where moss and weeds get their start. Pull dandelions and thistle now, while the soil is soft and the taproots come up whole; wait until May and you will be pulling the same plants again in July.
Then walk the whole surface with a critical eye. Note pavers that rock underfoot, cracked units, joints that have emptied out, splintered boards, wobbly railings, and any spot where water pools after a rain. Photograph the problem areas so you can match replacement stone or lumber later without guessing at color and size.
Washing without doing damage
A pressure washer is the fastest way to strip a year of grime and also the fastest way to etch concrete, furrow wood, and blast sand out of joints. Keep the nozzle moving, use a wide fan tip, and stay at least a foot back from the surface. On wood, drop to a lower setting and follow the grain. On natural stone, test a hidden corner first — some stones are soft enough that a strong spray will scar them. For algae and the black streaking that appears on shaded surfaces, a cleaner made for stone or decking, applied with a soft brush and rinsed well, is gentler than raw chlorine bleach, which can lighten certain stones and harm plants when it runs off.
April: Repair, Re-Sand, and Reseal
Once the surface is dry, fix what you found. Lift and re-set rocking pavers on a fresh bed of compacted sand or gravel, replace cracked units, and refill the joints. Polymeric sand, swept into dry joints, misted, and left to cure according to the manufacturer's instructions, holds up far better than plain sand against rain and ants. Work in small sections and stay off them until they have set.
The water test for wood
Before you buy sealer, find out whether the deck actually needs it. Sprinkle a cup of water across a few boards.
If the water beads and rolls off, the old finish is still working. If it soaks in within a minute and darkens the wood, the boards are thirsty and ready to seal.
Clean the deck first, then give it two full dry days — and check the forecast for two more after you apply. Sealer caught under a rain shower will blotch and peel, and you will be sanding it off next spring. Most products want temperatures above roughly 50°F and low humidity. If your deck is new pressure-treated lumber, give it a season to dry before sealing; wet-treated wood sheds finish instead of absorbing it.
April is also the month for the small repairs that keep a deck safe: replace popped nails with coated screws, sand splinters flush, and tighten railing bolts and stair hardware. If a ledger board, post base, or structural joist shows soft, crumbly wood, call a qualified contractor rather than reaching for a tube of caulk.
Late April to Mid-May: Refresh Soil and Plant
While the deck cures, turn to the ground around it. Scrape the top inch of old mix out of containers, scrub the pots, and confirm the drainage holes are open. Refill with fresh potting mix — not garden soil, which compacts in pots — and work in a slow-release fertilizer. Spent mix has given up its nutrients and often carries last year's pests.
In beds along the patio edge, top-dress with an inch of compost and turn it in lightly. Cool-season flowers such as pansies and snapdragons can go out early, but basil, zinnias, and tomatoes want genuinely warm soil, so wait for your last expected frost date. Favor plants that shrug off heat and reflected glare: salvia, lantana, ornamental grasses, sedum, and rosemary all handle a sunny patio edge. Mulch two to three inches deep, pulled back from stems, and leave a small gap between mulch and stone so soil does not wash onto the patio.
Mid-May: Furniture, Shade, and Light
Uncover the furniture and give it a working-over. Wash cushion covers according to their care labels, tighten every bolt on chairs and tables, and touch up rust spots on metal with matching enamel. Teak will have silvered over winter; that is cosmetic, not damage. If you prefer the honey tone, clean it and apply teak oil to dry wood, knowing you will repeat the job annually.
Set up shade before the first hot weekend. Check umbrella fabric for mildew and the hardware for stripped threads, and make sure bases are heavy enough for the wind your area gets. Use only outdoor-rated fixtures for string lights and plug them into a GFCI-protected outlet. If you want new outlets, ceiling fans, or permanent lighting on the patio, bring in a licensed electrician for the wiring.
The One-Page Checklist
- March: clear debris and weeds, note loose or cracked pavers, wash surfaces.
- April: re-set pavers and re-sand joints, repair boards and railings, seal wood during a dry window.
- Late April: empty and scrub containers, refresh beds with compost.
- Early May: plant after the last frost, mulch, run soaker hoses.
- Mid-May: clean furniture, hang shade, check lighting and outlets.
Work With Your Weather, Not the Calendar
Treat these months as a sequence rather than a schedule. In the Southwest, March is already warm enough to seal and plant; in the upper Midwest or coastal Northwest, everything may slide three or four weeks later. The order matters more than the date: clean before you repair, repair before you seal, seal before you plant, plant before the first gathering. Give yourself one task per weekend, and by the time the evenings are long enough to sit outside, the patio will be ready for you instead of waiting on a to-do list.
Photo: Carola68 / Pixabay